 |
| FlySky radio, note antenna on top |
When you make a copy of a $600 radio and then sell it for under $60, obviously you have to cut some corners. One of the most annoying things about my budget FlySky radio is that the transmitter module (TX) is hard-wired to the radio antenna. On just about any other radio, the TX is removable so you can swap out a different unit if you want. Well on the FlySky (and the other Turnigy/Imax/Eurgle clones) the TX module can be pulled out of the radio case, but then it remains attached by a very thin coaxial wire. Many aftermarket TX modules have the antenna mounted on the module itself, rather than the radio case. I figured I could solve the problem on my radio by moving the antenna to the TX, making the module truly removable.
 |
| stock TX module |
 |
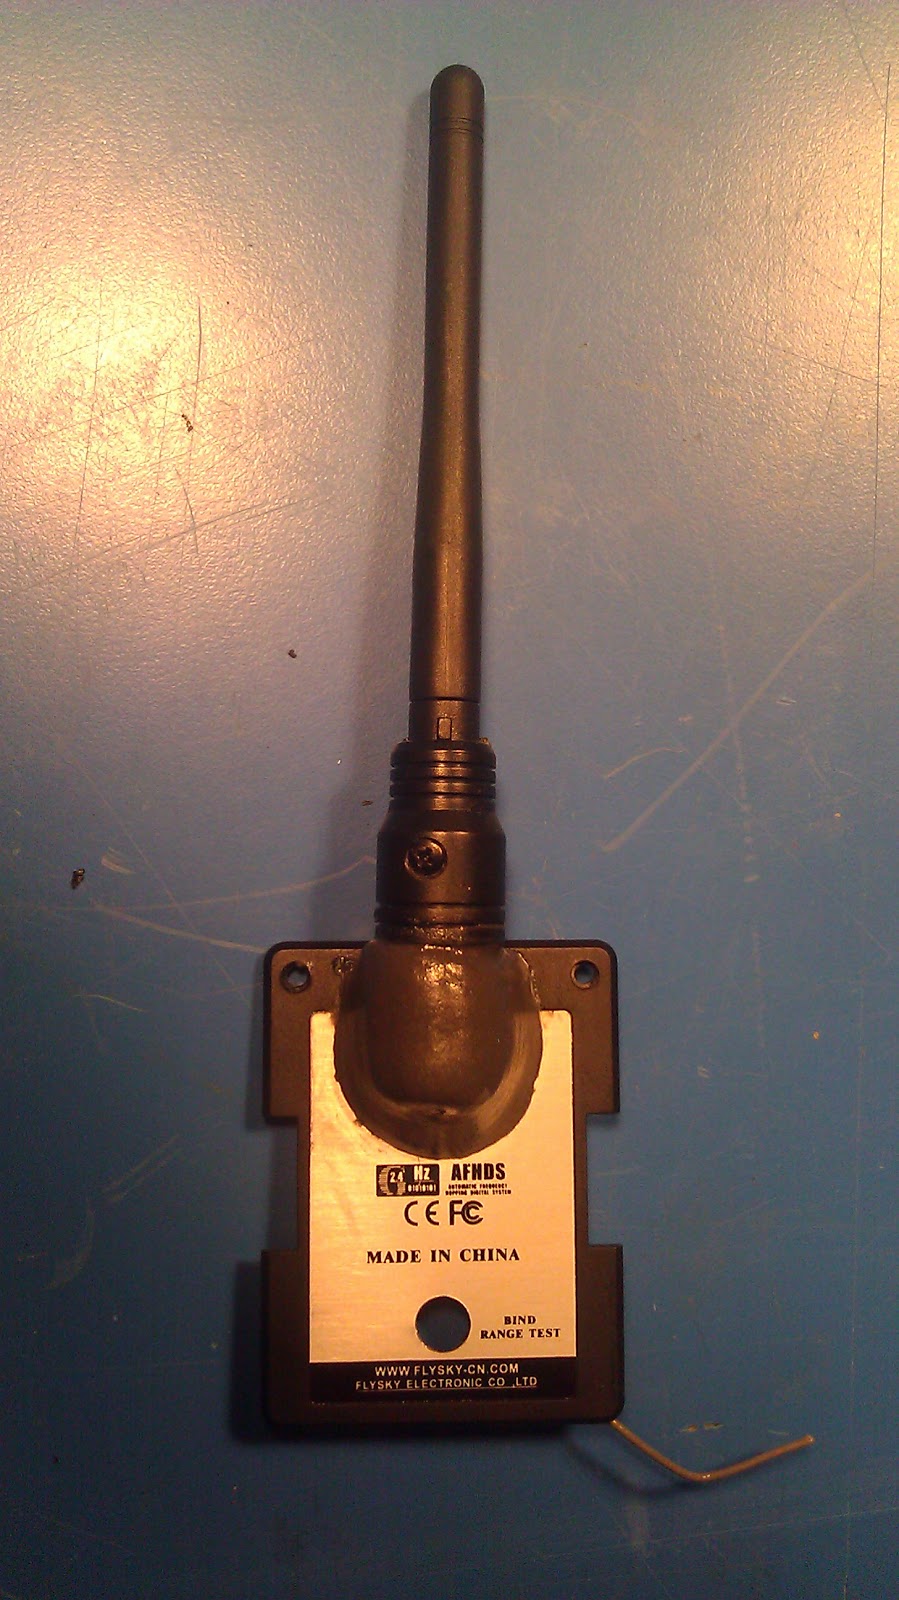
| TX removed, note cut wire in upper right |
I started by pulling the TX out and cutting the coax wire. Then I opened the radio case and removed the antenna. I also opened up the TX case and desoldered the two tiny leads of the coax wire and removed the cut piece of wire.
 |
| one screw holds antenna |
 |
| coax wire inside TX |
The next step was to figure out how to securely mount the antenna on the TX case. I searched my shop and found a fiberglass tube from an old umbrella that fit the inside diameter (9/16") of the antenna base perfectly (and my wife wonders why I keep all of this "junk"). I cut a piece 1 5/16" long, shoved it inside the antenna base and used the stock screw on the antenna to hold it together.
 |
| antenna and tube |
Next I drilled two holes through the TX cover and into the fiberglass tube for mounting screws. One more hole was drilled in the TX cover to feed the wire through.
 |
| cover and antenna drilled |
If I mounted the antenna flush with the TX cover, the antenna would hit the radio case when the module was reinstalled. So I placed two washers between the TX cover and the antenna for clearance. Then I grabbed two plastic screws I had laying around and screwed everything together.
 |
| antenna mounted |
 |
| clearance washers |
 |
| rear view |
To make the installation even more secure, I globbed some PC7 (man's best friend) around the antenna mount and onto the TX cover. I let it set for 24 hours.
 |
| PC7 epoxy |
The next step was to solder the coax wire back the TX circuit board. For those that are not familiar with coax wire; there is a single lead through the center of the wire surrounded by a plastic tube. Around the plastic tube is a woven metal sleeve of wire as a shield. That is then covered with typical wire coating. As you can probably tell from the pictures, the wire is tiny. Stripping and separating the two wires was difficult, even for my favorite stripper! I ended up cutting the plastic tube off the center wire with an X-Acto and a jewelers loupe. Both leads then needed to be soldered to two tiny pads on the circuit board that were about 2 mm apart. Actually, the stripping was a lot harder than the soldering. I added a little hot glue to the wire to relieve any tension on the solder joints.
 |
| coax wire soldered back on |
 |
| ready to assemble |
Finally I reassembled the TX module and plugged it back into the radio. It is a tight fit under the metal bar on the back of the radio, but once installed there is plenty of clearance. The antenna still articulates as before. I tried it out with the receiver and everything still works. With this mod, the
resistor mod, and
new firmware installed, my cheapo radio now has all of the capabilities of a much more expensive model.
 |
| finished and installed |


No comments:
Post a Comment