 |
| QUADframe 215mm landing legs |
Lately I have been working a lot with multi-rotor helicopters. I have built the
Turnigy Micro Quad v2 and the
JDrones ArduCopter Quad v1.1. Well now it's time to step it up a bit. I am going to be building a hexacopter based on the
ArduCopter APM 2.6 flight control system and the
QUADframe PRO SIX frame. I will be posting build logs for the complete assembly. In this first part I assemble the landing gear. QUADframe has five different sets of landing legs available; from 50 to 310 mm clearance. I chose the
215 mm landing legs thinking they were a good trade-off between clearance and weight. I ordered mine with the optional
accessory plates for extra mounting options for sensors, batteries, camera, etc. Assembly is not complicated but since QUADframe does not supply any manual or build videos, I thought I would make my own.
 |
| Parts included in the kit. |
 |
| Included hardware. |
 |
| Assembly tools: medium thread locker, 2.5mm allen key, 5.5mm wrench, cutters |
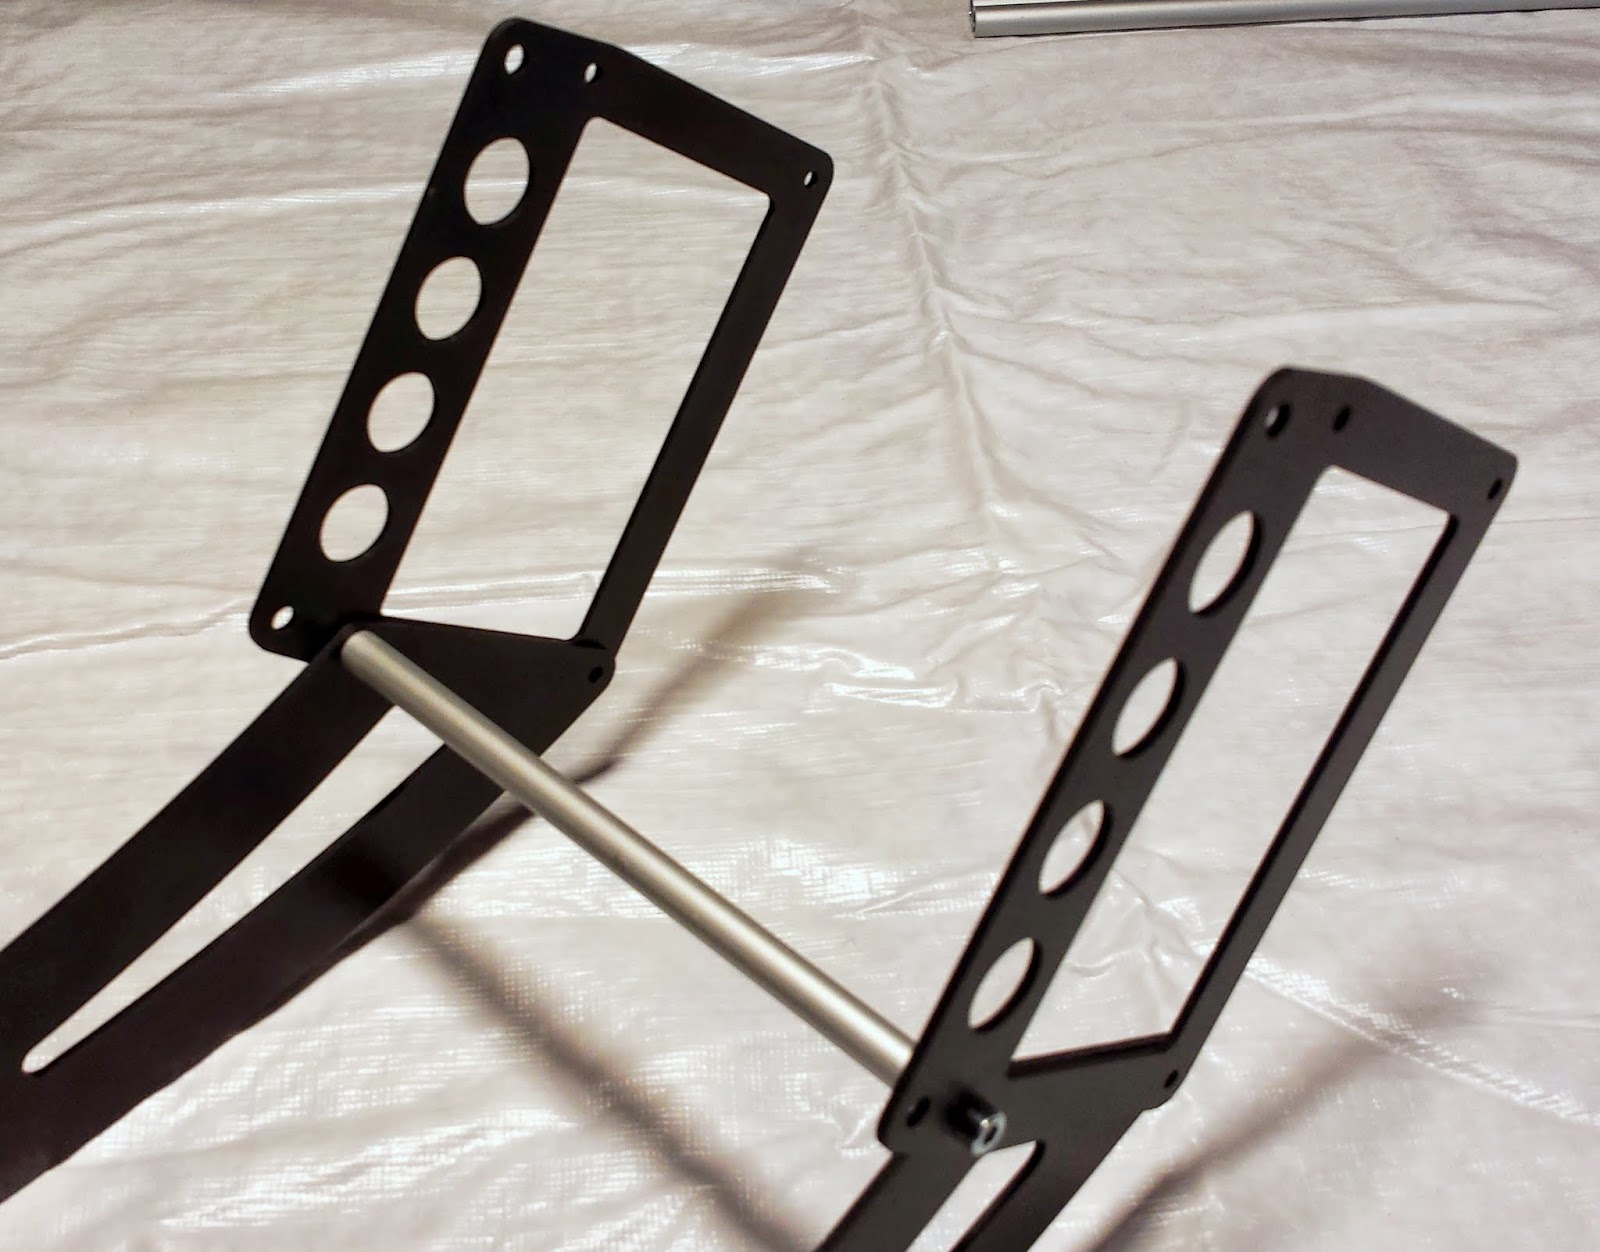
The first step is to screw three of the thin aluminum tubes to one landing leg. Use medium strength thread locker to make sure the screws do not vibrate loose. Once that is done screw a second leg onto the opposite side with three more screws. Repeat the above steps for the other side.
 |
| Attach small tubes to bottom 3 holes of legs. |
Next we attach the face plates. The plates go outside of the legs and are screwed into the small aluminum tubes. Notice which holes are used in the picture. Repeat for the other leg assembly.
 |
| Attach face plates to legs with small tube. |
 |
| Face plates assembled. |
Then the aluminum angle brackets are attached to the top holes of the face plates using the washers and nylock nuts.
 |
| Attach angle brackets to top of face plates with small bolts, nylock nuts and washers. |
The two large aluminum tubes are then screwed in with the M4 panhead screws to the lowest holes in the faceplate.
 |
| Attach large tubes to bottom holes in face plate with large pan head bolts. |
The two accessory plates are attached to the middle aluminum tubes with zip ties.
Be sure to pull the zip ties gradually and evenly to ensure that the plates are centered between the tubes. If you pull one side too tight, the plate will not be centered.
 |
| Attach accessory plates to legs with zip ties. |
Next we attach the battery plates to the uppermost tubes with zip ties. I did not add the velcro yet as I am not sure where I am going to mount my batteries.
 |
| Zip tie battery plates to supports. |
The four rubber grommets are placed in the large holes on the bottom of each leg.
 |
| Insert four rubber grommets into legs. |
I marked the center of each of the aluminum skids before inserting them through the grommets. That made it easier to center the skids between the legs. Finally the four rubber caps are placed on the ends of the skids.
 |
| Finished! |
All in all, not too difficult. The legs are nice and sturdy. I can't wait to build the rest of the frame. Total build time was about 43 minutes. Final weight is 320 grams. I was left with some leftover hardware; 2 washers, 2 small bolts, and one nut. If the above instructions aren't clear enough, you can watch my video of the assembly below.


No comments:
Post a Comment