Showing posts with label target. Show all posts

Monday, September 1, 2014

Floating Airsoft Targets - Part II


A few months ago I posted about a floating target system I built for my airsoft pistol. It works well but the balls pop off of the air column and the target balls don't hold up to multiple shots. I finally got around to improving it.

straws packed in

To smooth out the airflow, I used plastic stirring straws. I cut each in half (2.5") and packed 17 into each tube. They hold in with just friction.

new targets

For the target balls, I found these Callaway Soft Flight golf balls. They feel like they are made of a dense foam. They float stably and aren't damaged at all when shot. They will be able to withstand hundreds of shots. With those quick improvements the target system is much more reliable and fun. Happy shooting!


Sunday, February 16, 2014

Floating Airsoft Targets


A few years ago I received this Floating Target Shooting Gallery as a gift. The concept is pretty cool, shoot the floating balls as they bounce around on a column of air. The problem is, the dart gun is so inaccurate that if you hit the target it is only by pure luck. So I decided to build an upgraded floating target system for use with a more accurate airsoft gun.

floating target toy

Obviously the targets need to be light, so I chose ping pong balls. I also picked up some plastic practice golf balls. They are about the same size but a little heavier. With ping pong ball in hand, I took a trip to the hardware store to select the parts. Check the picture below for the parts. The 1" x 1/2" bushing serves as a cup to hold the balls. The ball valve controls the amount of air flowing through the pipe and thus, the height of the ball. I opted for five targets, but you could make as many as you want so long as you have enough air to supply all of the lines. The vacuum adapter will differ based on your air source.

parts diagram

Eventually I would like to use a built-in air source to make the unit self-contained. But for now, I'm just using the exhaust from my shop vac. I used a narrow adapter that fit into the tee to get the vacuum hose to attach to the manifold. I added some duct tape around the adapter for a snug fit. The unit was glued together with PVC cement and mounted to a board with pipe clips.

completed assembly

With everything together, it was time to test it out. I closed all of the ball valves and fired up the shop vac. Then I opened each ball valve just a little until the ball was floating. I adjusted the valves until each ball was floating stably. With my 6 HP Craftsman shop vac blowing around 170 mph, I was able to get each ball floating comfortably about 4 inches above the cups. You could adjust the valves so each ball is at a slightly different height.

floating targets

Now let's see how it works as a target system. I loaded up my WE Hi-Capa 5.1 R and took aim. With each good shot the balls popped off the air column. The air holds them steady enough that a glancing shot is not enough to knock them off. It takes a good square hit.

cracked and dented balls

The ping pong balls hold up OK to the airsoft shots. Once in a while they crack. I tried the plastic golf balls. They dent but don't crack. The golf balls also seem to be a little more stable. I'll keep searching for a better target that can withstand multiple shots. The air flow is just a little erratic. Sometimes the balls pop off the air column on their own. I'll work on making the air column more stable. But for now, it's ready for some range time! Update: I have made some improvements. Click for details!

Sunday, September 15, 2013

Saw Blade Airgun Target

Saw blade target

The past few days I've been suffering from maker's block.  A project I've been working on has been getting the best of me.  I needed a quick and easy project to break out of my funk.  A few months ago I lent my chop saw to a friend who was installing a laminate floor.  When I got it back, the 12" blade was as sharp as a wet noodle.  Rather than throw it away, I decided to save it for a future project.  Good saw blades use high quality steel.  I figured this blade would make a great airgun target.

dull chop saw blade

I grabbed some of my favorite curb-side steel; old bed frames.  I used a cut-off wheel on my grinder to cut the pieces.  I cut the top piece 19" long and the vertical pieces 25" long; 20" for the height and 5" for the ground spike.  I screwed up and cut the spike on the right side on the wrong end of the piece, making the face frame uneven on that side.  I thought about scrapping that piece and making a new one, but it is only an aesthetic problem.  It will function just fine as is.

pieces cut

I welded the pieces together and dressed the welds and sharp edges with the grinder.  I drilled two holes spaced 10" apart on the top of the frame to support the blade.  I cut some old chain to length and bolted it to the blade and frame with 10-24 screws.  Luckily the blade already had expansion slots in it that fit the hardware perfectly.  Drilling through good saw blades is an exercise in futility without carbide bits.  I finished off the frame with a little spray paint over the bare spots.

welded together

weld detail

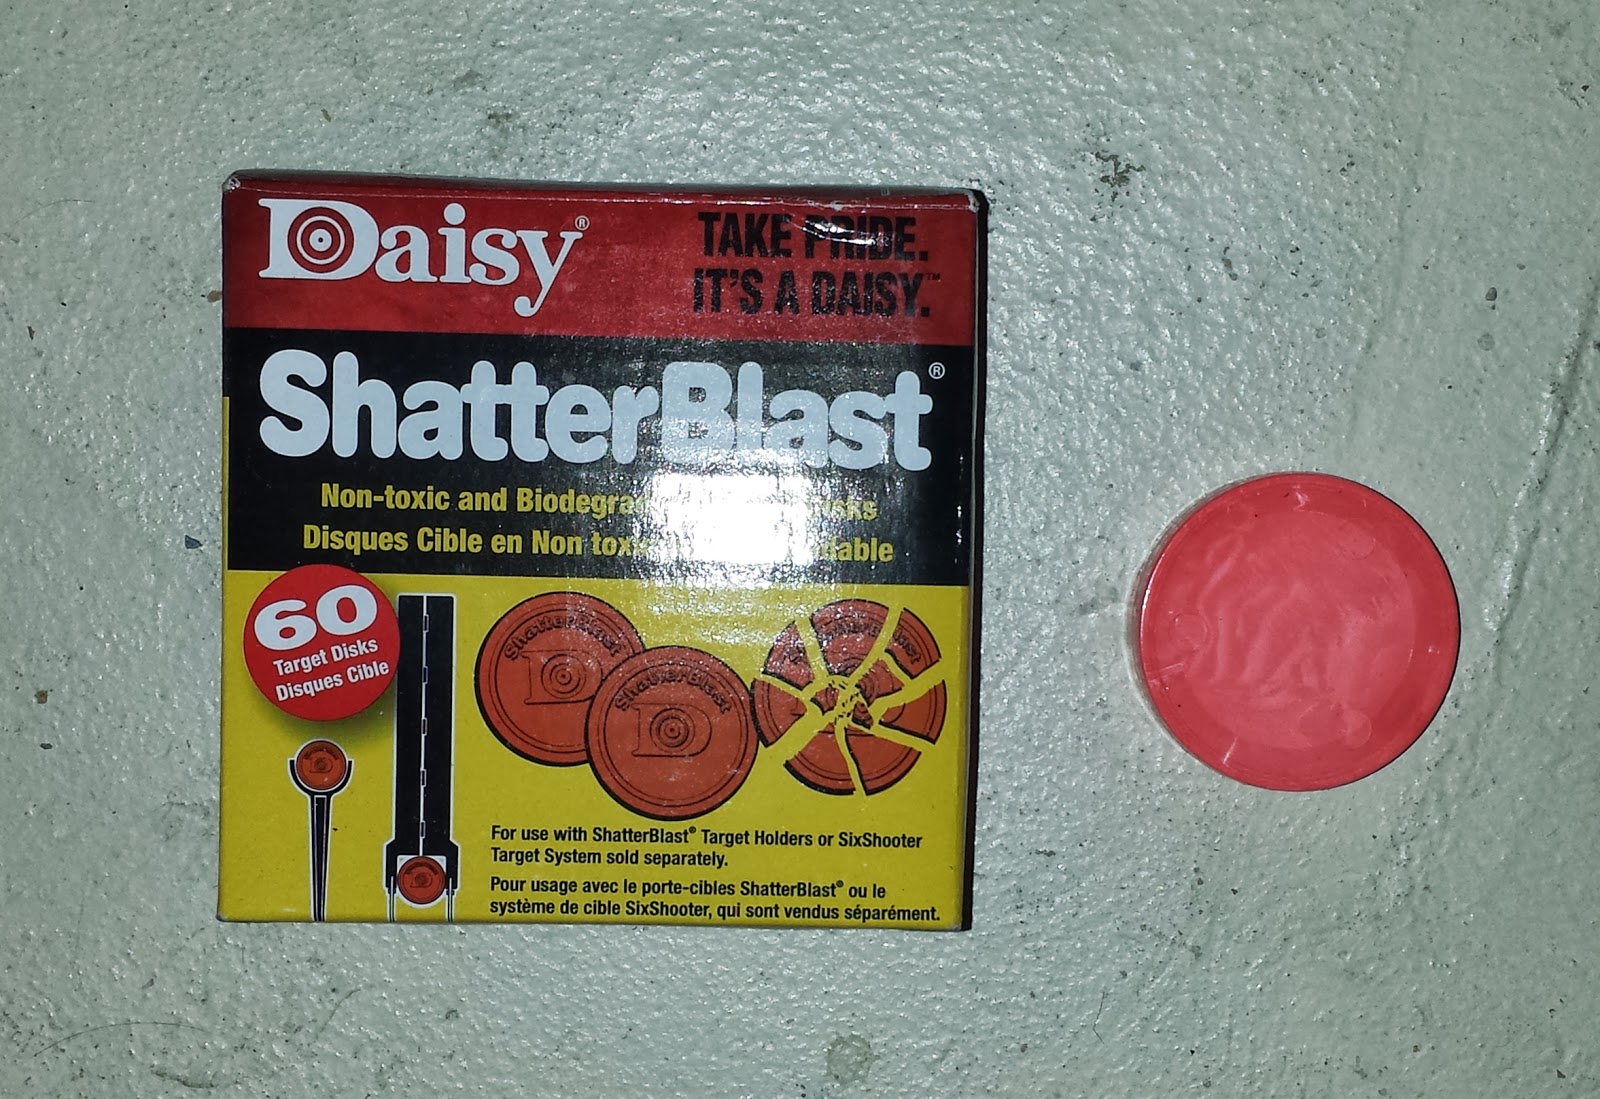
The blade has a tantalizing hole right in the center; perfect for a bullseye.  In the future, I think I will have to mount some sort of bell behind it.  As I don't have one right now, some Daisy ShatterBlast targets will have to suffice.  I was going to add some sort of mount for the Daisy targets on the back of the blade, but duct tape will work just as well.

targets for bullseye
The blade makes a nice sound when you hit it and the ShatterBlast discs make for a nice challenge at longer distances.  I think I may add a horizontal piece under the blade to serve as a stepping point to drive the spikes into the ground and prevent the legs from twisting.  But for now, it's time to shoot and have some fun.


Sunday, September 30, 2012

Airgun Target Stake

Airgun Target Stake

I love shooting paper targets.  There's nothing more challenging (or frustrating) than trying to get 5 or 10 shots into a little tiny group.  But once in a while you just want to have some fun and hear the satisfying ping of lead hitting steel.  So I decided to build a new airgun target.  I had the idea of supporting some empty CO2 cylinders with magnets; hoping they would go flying when I shot them.

the parts

At first I was going to orient the cylinders on a horizontal plane on some sort of rack.  I decided to go with a vertical spike instead because it would take up less storage space.  I looked through my scrap pile and found a 1/2" x 28" control rod from an old radial arm saw.  It had a nice knob on top that would serve as a handle when pushing the rod into the ground.  It is made out of some odd alloy I think.  It feels, machines, and corrodes like aluminum.  But it attracts a magnet and sparks when you grind it.  Not sure what it is but it seems resistant to rust so it should be perfect for a ground spike.

boring the recesses

I was going to just epoxy the magnets to the side of the rod but I was afraid I might shoot the magnets and break them.  So I machined 6 recessed holes in the side of the rod spaced 1.5" apart to hold and protect the magnets.  The magnets were supposed to be 5/16" in diameter, but they were just a bit larger, so I ended up using a 3/8" end mill to make the holes.  The holes are too large but they serve their purpose.  I really just wanted to get this thing made in one evening; function over form this time.

ready for paint

Next I ground the end of the rod into a point on a belt sander to make it easier to stake into the ground.  Then I cleaned the corrosion off the rod with a scotch-brite pad.  The magnets were fixed into place with some JB Weld.  A few coats of paint and it's done.

complete

It functions just as I expected.  Really nice action on the cylinders when you hit them; very satisfying.  This new target should provide hours of shooting fun in the backyard this fall.  Check out the video to see it in action.

Wednesday, September 26, 2012

Silent Pellet Trap

silent pellet trap

I do a lot of target shooting with my airguns.  One requirement is a safe backstop that will stop even the most  powerful shots.  It must hold up to thousands of shots.  Additionally, you don't want your pellets to splatter on impact spreading lead fragments all around as they do when they hit a hard surface like steel.  And lastly, it would be nice if it isn't too loud, especially if you shoot indoors.

.22 caliber bullet trap

I was using a steel trap designed for .22 caliber rimfire bullets.  It is plenty strong enough but the pellets do splatter on impact and this thing is LOUD.  Sounds like a gong each time you hit it.  I came across this trap design online that seemed like the perfect solution.  The trap is filled with duct seal putty.  The putty catches the pellets silently and almost unharmed so there is no lead splatter or bounce back.  Looked like something I could build.

my inspiration

I don't really like to work with wood and I didn't like the idea of a stray pellet hitting the wood and damaging it, so I decided to go with steel.  I started with a 9" x 12.5" x 4" breaker box.  I cut a 8" x 9.5" opening in the front cover and fitted a cardboard backer behind it.  There were a few small mounting holes in the back of the unit, so I cut a piece of tough aluminum from an old street sign to fit the back and riveted it in place.  That way, even if I shoot through the putty, there is no chance of a pellet going through a hole in the trap.  I used an old steel carry handle I had lying around and riveted that to the top to make it easier to transport.  Then I put a few rubber feet on the bottom.  Finally, I filled it with about 10 lbs of duct seal.

carry handle
filled with duct seal
(and a lot of pellets)

It worked great just like that for many months.  Then, one day while the in-laws were cleaning out the garage, I acquired an old portable movie screen.  I didn't know why I was keeping it, but I was sure I would find a use for it.  Turns out, it made a great stand for the pellet trap.  I removed the screen and the handle that adjusts the height of the screen.  I mounted the handle on the back of the pellet trap.  The handle slides up and down the stand when you push the red button.  Release the button and it will hold position at any point.  The target center will adjust from about 2 - 5 feet high.  If I don't want to use the stand, I can just slide the pellet trap off the top of the stand and use it alone.

height adjustment handle

target stand

The pellet trap works great. Targets are held securely behind the front plate.  The duct seal will withstand thousands of shots.  When it is too full of lead, I just pick out the old pellets.  Then I knead the duct seal like clay and press it back in place for a nice even surface.  Good as new and ready for a few thousand more shots.

Monday, January 16, 2012

Knife Throwing Target


For some strange reason, I've always wanted to learn how to throw knives.  Unless you have aspirations for the circus, it is a completely useless skill.  (Seems I have a penchant for useless skills.)  So I purchased a set of Gil Hibben competition throwing knives many months ago.  Well you can't do much with throwing knives unless you have something to throw them at.  Any wood will do, 2x4's, plywood; but tree sections are ideal.  A friend of mine gave me a beautiful 36" diameter piece from a fallen tree.  I assembled the stand from scrap wood I had laying around.  I screwed a pair of eyebolts into the stump and the top of the support.  Spring links join the eyebolts together.  On a side note, the three knives stuck in the target were the fourth, fifth and sixth throws of my life.  Must have been beginners luck as the next three throws all bounced off the target.  After that, the 25 degree weather chased me inside.  Can't wait for a warmer day to try again.